
Hope is Not a Layer: Closing the Safety Gap in Cold-Weather Cycling
Problems are not the problem; coping is the problem. - Virginia Satir
On a March Sunday I found myself 15km north of home with a tubeless tire going flat. It was late in the afternoon, the sun had already dropped behind the hills at my back, it was 5C, and I was wearing Castelli’s one-piece San Remo Thermal Suit. It was a niche piece, and since my plan that day was to rip an 80km out and back pretty hard, I had chosen it as a fairly aero match for my expected high heat output.
When I stopped to deal with my flat I immediately knew I was in a bad position. My hands started chilling immediately as I worked on my bike, and my core started to chill within a few minutes too, since I didn’t have much insulation working for me. One or two base layers don’t trap much air.
I was back rolling within about 10 minutes, which felt fortunate. My hands were numb from touching a wet tire and metal parts, and could barely pull my brakes. It was bad.
I hoped for no issues when I left home that day, having prioritized my setup’s optimization for speed. This mistake led me to push into working through how I could integrate more safety margin into my gear setups, especially for the days weather looks pretty good, and carries deceptive risk.
The Stop Layer
Hope is not a strategy.
Many riders know 5C can be a dangerous temperature. However, knowing and risk-managing are not coupled often enough. More common, the ‘casual mindset’ treats exposure as temporary and solvable with grit. Coping requires strategy and tactical options: the right layers and the judgment to deploy them before you drift into thermal losses you can’t recover from.
In my Matter Lab Note (001), I compared two rides and showed how convection, moisture, and conduction create different thermoregulation boundaries. Understanding how these mechanisms interact across varying conditions is foundational to making good decisions about what we buy, wear, and the actions we take when faced with weather problems. Packing a shell jacket for rain is fairly straightforward. The more insidious issue is what happens when our thermal pump output drops, especially when we don’t have the ability to deploy the primary tactic for increasing heat production: working hard.
When you stop producing excess heat because work rate drops, you either have an option that keeps you warm, or you do not. This post is about how to navigate selecting this option.
Defining the problem
A ‘cool not cold’ garment setup is a low-insulation system by design. It works because our bodies generate heat and our clothing system clears moisture without constant micro-management. The problem is simple and unavoidable: the moment you stop, heat production drops, and heat retention does not magically increase. If you are even slightly damp, your clothing system’s ability to retain heat will be reduced.
A stop layer is a packable auxiliary outer insulation layer designed to be thrown on over active layers during a stop, a delay, or an unexpected transition. It is not a rain shell or a comfort puffy. It is a safety capability.
I am interested in this safety capability solving for two scenarios:
Static Coping
Heat output drops significantly when we stop for any reason. Wind and contact points start to matter more. Hands and feet often degrade first because the body prioritizes protecting core temperature. If our bike is broken and we have to walk, our power output will be closer to static than active; heat output will drop and stay lower.
Recovery to Dry
When wet from sweat, rain, or falling into water we either need to dry out as we keep moving, or while static overnight. In a bikepacking context, we need insulation that works in the humid transition and supports drying inside shelter without collapsing into a wet, cold sponge.
An insulation layer that is great for active comfort can be useless when you stop.
Why people do not carry a stop layer
I hear riders say all the time they know they ‘should’ have an emergency insulation jacket, but they don’t. The gap is persistent because the friction points are grippy.
Friction point 1: Volume
When touring and bikepacking, insulation competes directly with food, water, and repair kit. If the layer does not fit the space we have, it does not exist as a capability. For day rides, bike-mounted bags are often not at the ready, because this is an afterthought for bikes not used for bikepacking, and/or bikes like MTBs often don’t have many options for mounting points.
Friction point 2: Uncertainty and Decision fatigue
If we don’t know what to carry, we often carry nothing. The in/decision tends to hide behind vague optimism: ‘I will keep moving,’ ‘I will be fine,’ or ‘I brought a shell.’
Friction point 3: Confusing rain protection with insulation
Shell jackets address one problem: precipitation and wind exposure. They do not solve the stop layer problem on its own. If we are damp when we stop, a shell without insulation underneath it will often cause post-exercise chill. The shell stops the wind, but it can’t stop the cold fabric from conducting heat away from the skin it touches, nor can it prevent the humid microclimate inside the jacket from condensing into cold liquid against our body.
Deciding what to carry
In the thru-hiking world, the best gear choices are framed as decisions that reduce failure modes. A foam sleeping pad is the classic example: it cannot leak, requires no setup, and provides a guaranteed floor for survival regardless of conditions. It diminishes anxiety by reducing the number of critical decisions you have to make while exhausted.
Similarly, a stop layer should be a low-friction tool. Dressing for a dedicated winter ride where we intend to keep moving is not the same as being prepared for an unplanned stop between -5°C and 5°C. The latter requires a system that works when we are at our most vulnerable.
Outer insulation layer: mandatory requirements
If an auxiliary insulation layer is going to function as a safety capability, it has to satisfy three pillars. If it fails the first, it stays at home.
Pillar 1: Accessibility
Low volume, fast deployment - It has to be compact enough that we carry it every time, and simple enough to deploy in under 30 seconds with cold hands.
Pillar 2: Structural integrity
Wind stable, durable loft - It has to hold warmth when the wind is stripping heat away, and it has to retain loft after repeated compression while stored.
Pillar 3: Moisture resilience
Insulates while damp, buffers vapour - It has to work over humid or partially wet layers and maintain a stable core temperature in that high-humidity transition.
Recall, any auxiliary insulation layer at the ready is better than none. In Canada, it is not remotely uncommon for outdoorsy folks to own a compact down jacket. It will always be better to run what you brung than choosing zero contingency for lack of an ‘ideal’ solution. A compact down jacket is a great baseline in many ways, but doesn’t meet all the requirements that matter.
In winter I leave my stop layer stored in a generic Patagonia bag I strapped to my bars. I don’t decide whether to take it on a ride; it’s already there.
Full-contingency requirements - where synthetic starts to differentiate from down.
The three pillars above define a stop layer that works for routine delays. A solution for full-contingency pushes into a different domain: multi-day self-sufficiency, repeated damp transitions, and the need to recover capability without warm shelter. This is the same problem-set the military designs for. (Read about the US military’s approach to sleep systems here: Soldier Survivability Sleep Systems)
Contingency Factors
Vapour tolerance - The layer should tolerate being worn over damp clothing without turning internal humidity into cold condensation.
Works static and mobile - It should keep you functional while stopped and while moving slowly (repairs, walking a bike).
Recovery-to-dry utility - It should support a recovery-to-dry process: stabilize core temperature first, then allow moisture to migrate outward rather than saturating the insulation itself. This includes sleep-mode.
If the solution fails when you are damp, it is not a safety layer; it is a fair-weather comfort piece.
From Nano Puff to a purpose-built stop layer
I’ve owned a Patagonia Nano Puff for years, and it’s often recommended as a packable option. However, it never impressed me with its static warmth, which comes down to its materials and associated construction. The Nano Puff uses loose synthetic fill (mimicking down) held in place by a tight grid of quilted stitch lines. These sewn-through seams create compressed zones with less loft, and they act focused like cold zones. They are also places where humidity and condensation accumulate first during a hard stop.
When I began building a modular sleep system for bike touring and bikepacking, I leaned into dual-use pieces that could work across ride, camp, and sleep. A polyvalent sleep system element for four-season use is a synthetic quilt (see my post about this here). Once I committed to to the synthetic insulation logic, the next question was: What stop layer integrates with this system, and still performs in the two scenarios that matter most, static stop and recovery-to-dry?
Read more about ‘recovery to dry’ here, in the context of cold water immersion recovery: The Navy Seal Rewarming Drill
A low-stitch construction, using continuous-filament insulation like Climashield Apex, matters for a stop layer in two practical ways:
Moisture transport: When we throw the layer over damp clothing, our body heat increases the vapour pressure inside our microclimate. If the insulation is not heavily quilted and pinched down, vapour can move outward more evenly through the garment, rather than being forced into a pattern of warmer lofted zones and colder compressed seams. In other words, it is less prone to creating ‘dew point’ zones where moisture accumulates.
Consistent dead-air space: Without a sewn-through baffle grid compressing insulation, the garment can loft more uniformly. Technical people talk about insulation value (CLO value) per weight, but in practice what matters is continuity: fewer pinched zones, fewer cold spots, and a more consistent thermal barrier when you stop and your heat production drops.
The Solution: The Cumulus Climalite Pullover
My search narrowed to two great options: the Enlightened Equipment Torrid and the Cumulus Climalite Pullover. Both use Climashield Apex, a continuous-filament insulation sold in sheets. Because the insulation is structurally stable, it doesn’t need a dense stitch grid to keep it from migrating.
The Climalite is made in Poland, and has a strong reputation. I wish it had a hood for sleeping, but still love it. People online sometimes complain about these looking like garbage bags; that’s goofy.
The Climalite is made in Poland, and has a strong reputation. I wish it had a hood for sleeping, but still love it. People online sometimes complain about these looking like garbage bags; that’s goofy.
Field Testing
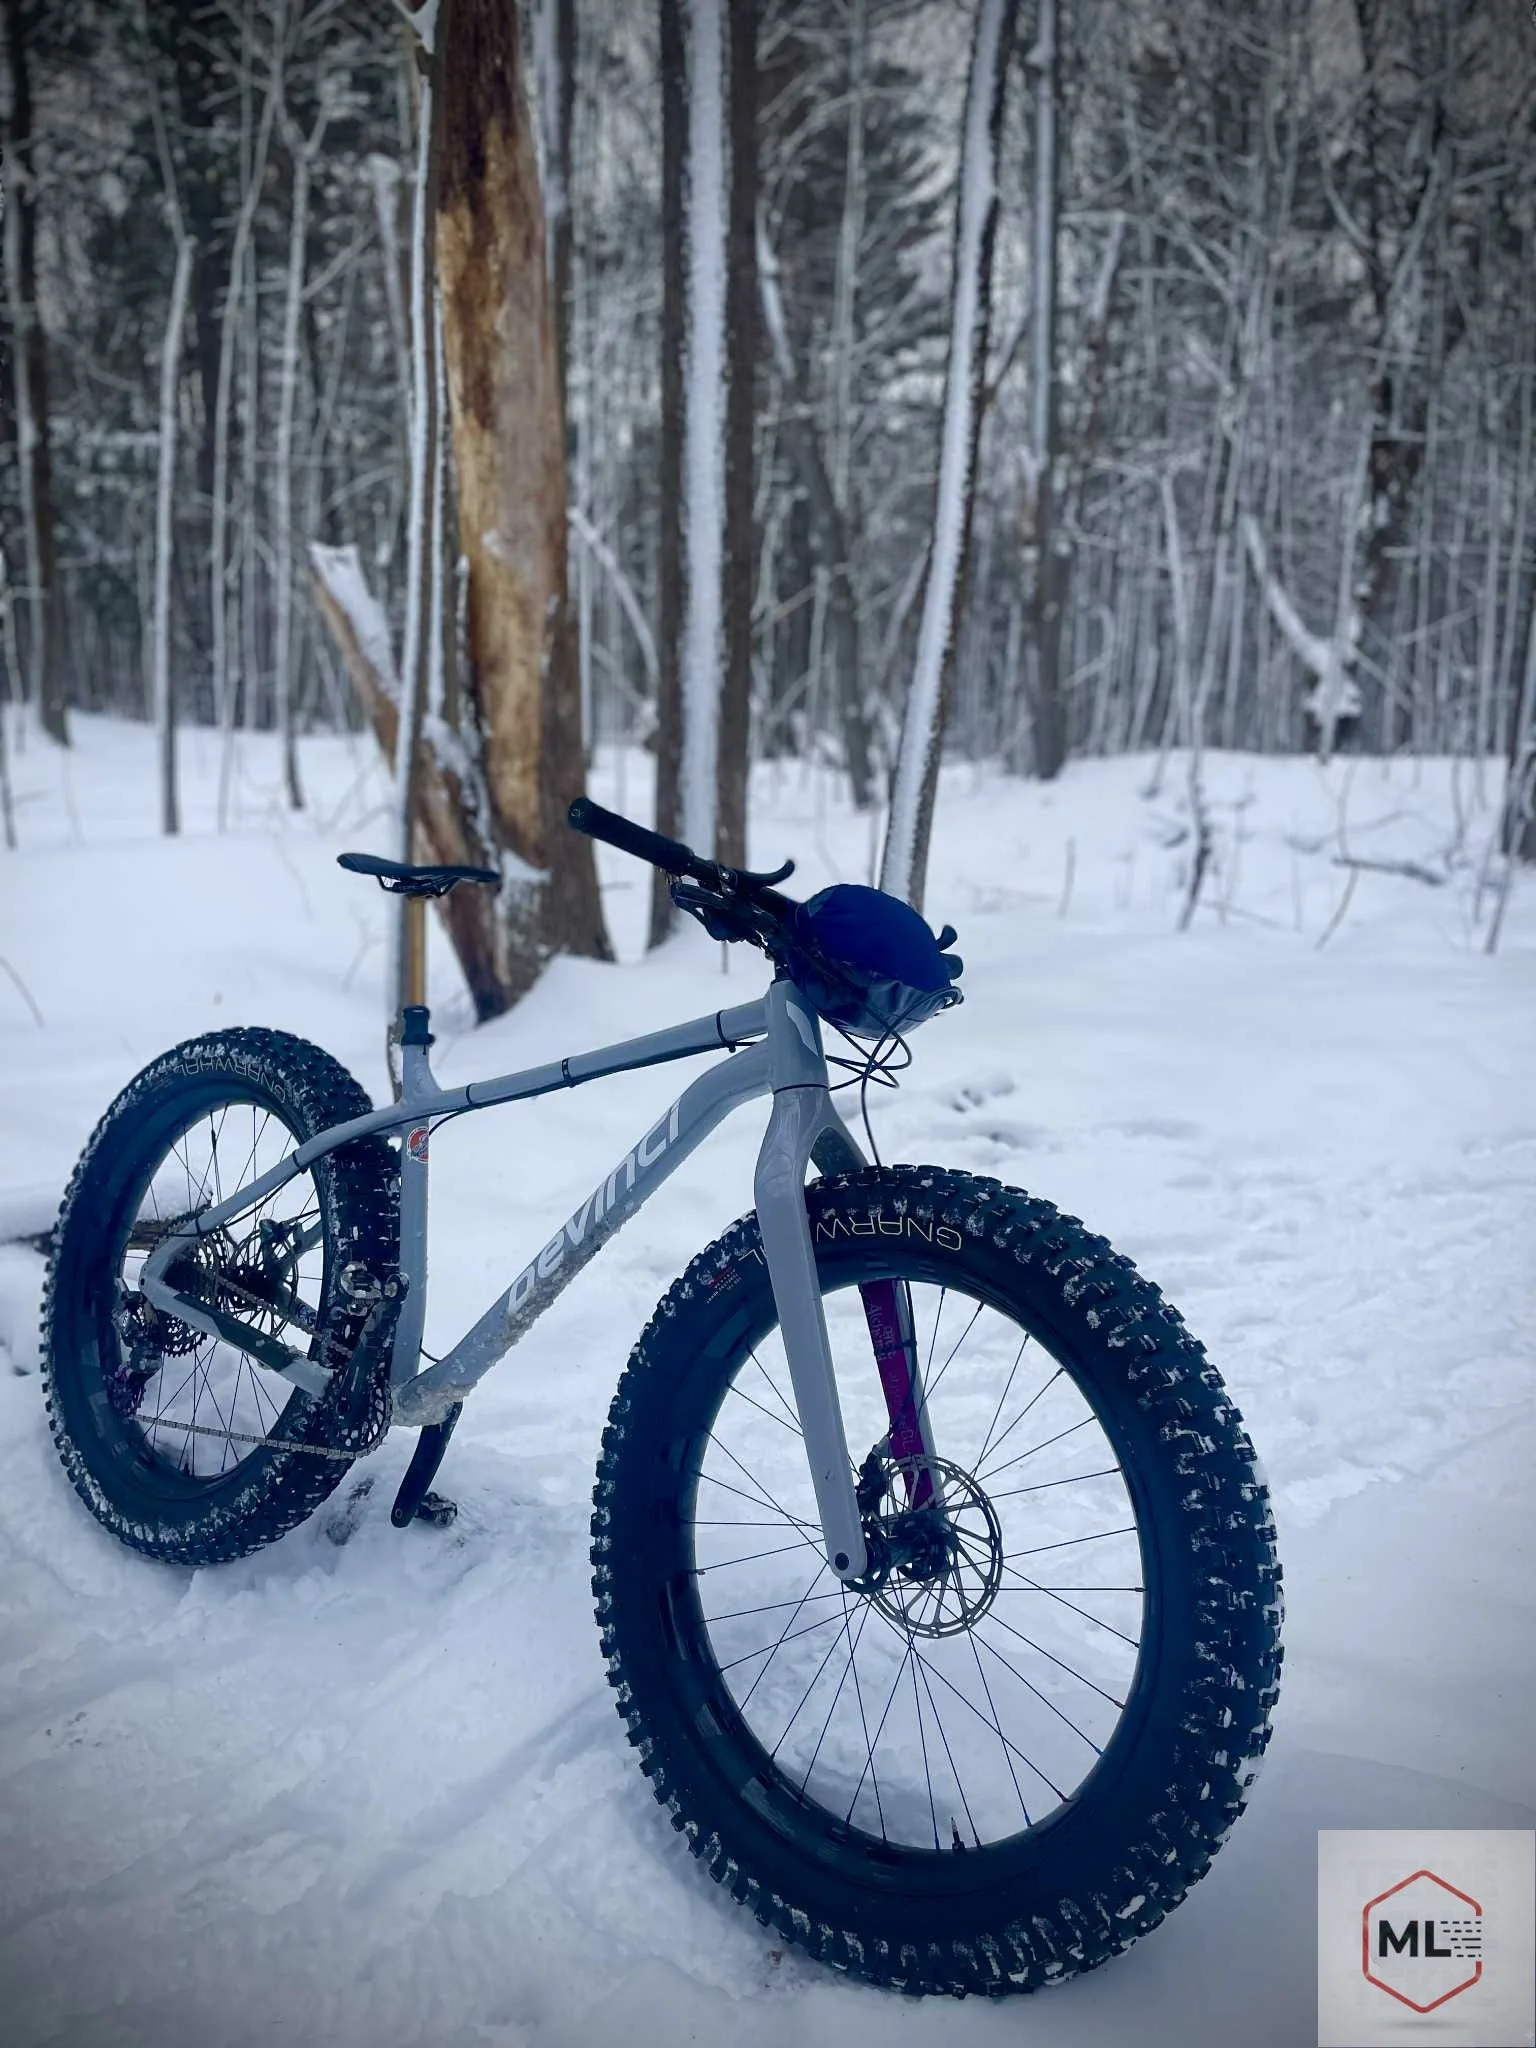
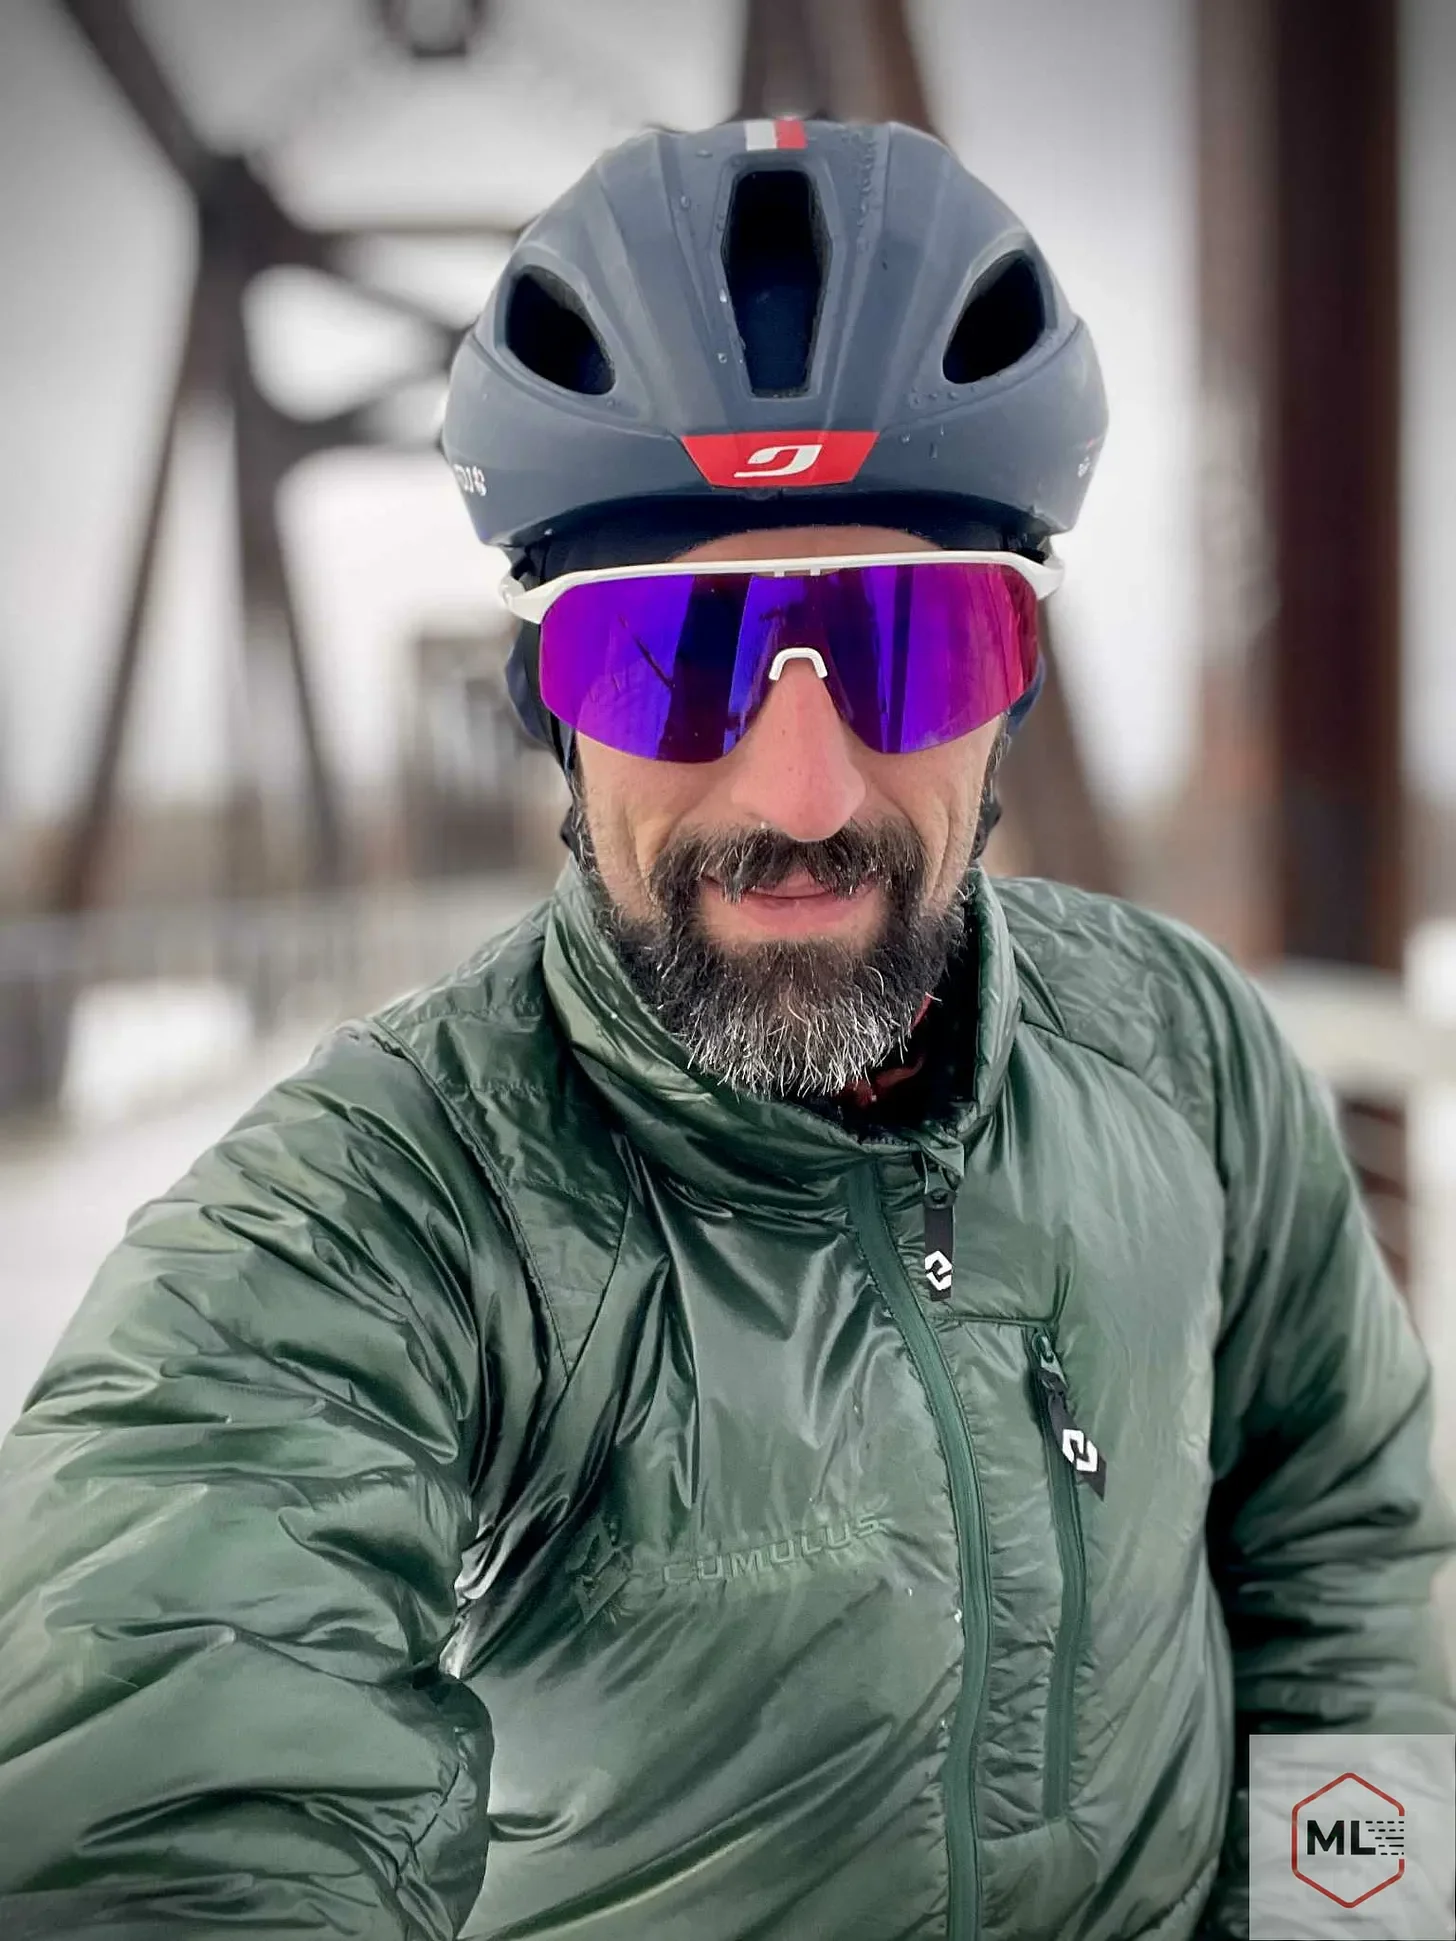
I pushed it a bit on a fatbike ride in Castelli’s DO.DI.CI Restretto jacket (photo above), which isn’t meant to protect from precipitation. It was about -2C, and started snowing 1/4 into the ride. I wasn’t worried, as I had my stop layer. I bumped into a friend with snow on me, chatted for 10 mins, then continued, and bumped into another friend, which led to another pause for a chat with about 7km to go until home. I put my stop layer on then, knowing I’d be riding easier through the city back home, and would want to grab a Coke at the store. I was warm while static at the store, and all the way home. While the Ristretto jacket underneath didn't fully dry in that span, the Climalite maintained its loft despite the dampness and actively facilitated the movement of moisture away from my core.
Both synthetic and down insulation have improved a lot in the last decade, and down is still phenomenal when it is dry. My stop layer problem is the damp transition: the moment I stop, and the moment I arrive at camp not fully dry. In that high-humidity window, a stop layer has to tolerate our own internal microclimate without losing structure or becoming a liability.
Over at least 60 fall and winter nights using the Climatelite as part of my sleep system, I am extremely happy with its ability to manage moisture. The down pieces I consistently use (socks, pants, hat, quilt) all exhibit lower moisture tolerance and clearing ability. It is common to wake up with slight clamminess in my down pieces, my Climalite remains dry to the touch. I aspire to move from down to Apex socks, pants, and hat as budget allows.
Practical steps to close the safety gap
To increase your safety margin in cool and cold riding, start with what you already have.
Carry the “wrong” gear today.
Don’t wait for the perfect piece. Grab the most compressible lofty layer you already own and carry it for your next ten rides. Build the habit of having the capability before you optimize the tool.
The 3-minute rule.
If you stop for more than three minutes to fix a flat, wait for a friend, or stand around at an intersection, the stop layer goes on. Don’t wait for shivering.
Run humidity tests.
If you tour or bikepack, test your system in controlled conditions. Wear the stop layer over damp base layers at home or on a local cold ride. The goal is not to feel toasty. The goal is to confirm the layer supports a recovery-to-dry.
Solve storage friction.
On day rides, do not rely on jersey pockets. Give the stop layer a home on the bike: a small bar-mounted packing cube, a frame bag, or a pack if that works for you. If it lives on the bike, it will not end up on the kitchen table when the sun looks deceptively bright.
What’s next
I’ll attempt to post a shorter piece next, focused on fatbike field testing of Castelli’s AirCore and Ristretto jackets, which will necessarily be backed up by my stop layer.